Creating a HomeLab and Home Server and Why to Do It
In recent years, the idea of creating a HomeLab or Home Server has gained a lot of traction. A HomeLab is essentially a personal server that you can use to store, access, and manage data. A Home Server is a computer that is used to store, access, and manage data.Both of these setups can be used for a variety of purposes, from managing a home network to hosting websites and running applications. With the right setup, you can create an efficient and powerful setup that can save you time and money.In this article, we will discuss why you should consider creating a HomeLab or Home Server and how to go about doing so.
Why Create a HomeLab or Home Server? There are a variety of reasons why you should consider setting up a HomeLab or Home Server.
Here are some of the most common reasons:
-
Cost Savings: Setting up a HomeLab or Home Server can save you money in the long run. You can purchase the components you need for a fraction of the cost of buying a dedicated server from a hosting provider.
-
Flexibility: With a HomeLab or Home Server, you have complete control over the hardware and software you use. This means you can customize the setup to meet your specific needs and requirements.
-
Scalability: If your needs grow, you can easily upgrade your HomeLab or Home Server to meet the increased demand. This can save you from having to purchase a larger server from a hosting provider.
-
Security: By hosting your own data, you have complete control over who has access to it. This can help protect your data from malicious actors.
-
Learning Opportunity: Setting up a HomeLab or Home Server can be a great learning experience. You can gain valuable experience in system administration, networking, and more.
How to Create a HomeLab or Home Server
Creating a HomeLab or Home Server can seem intimidating at first, but with the right setup, it can be relatively straightforward. Here are the steps you need to take to get started:
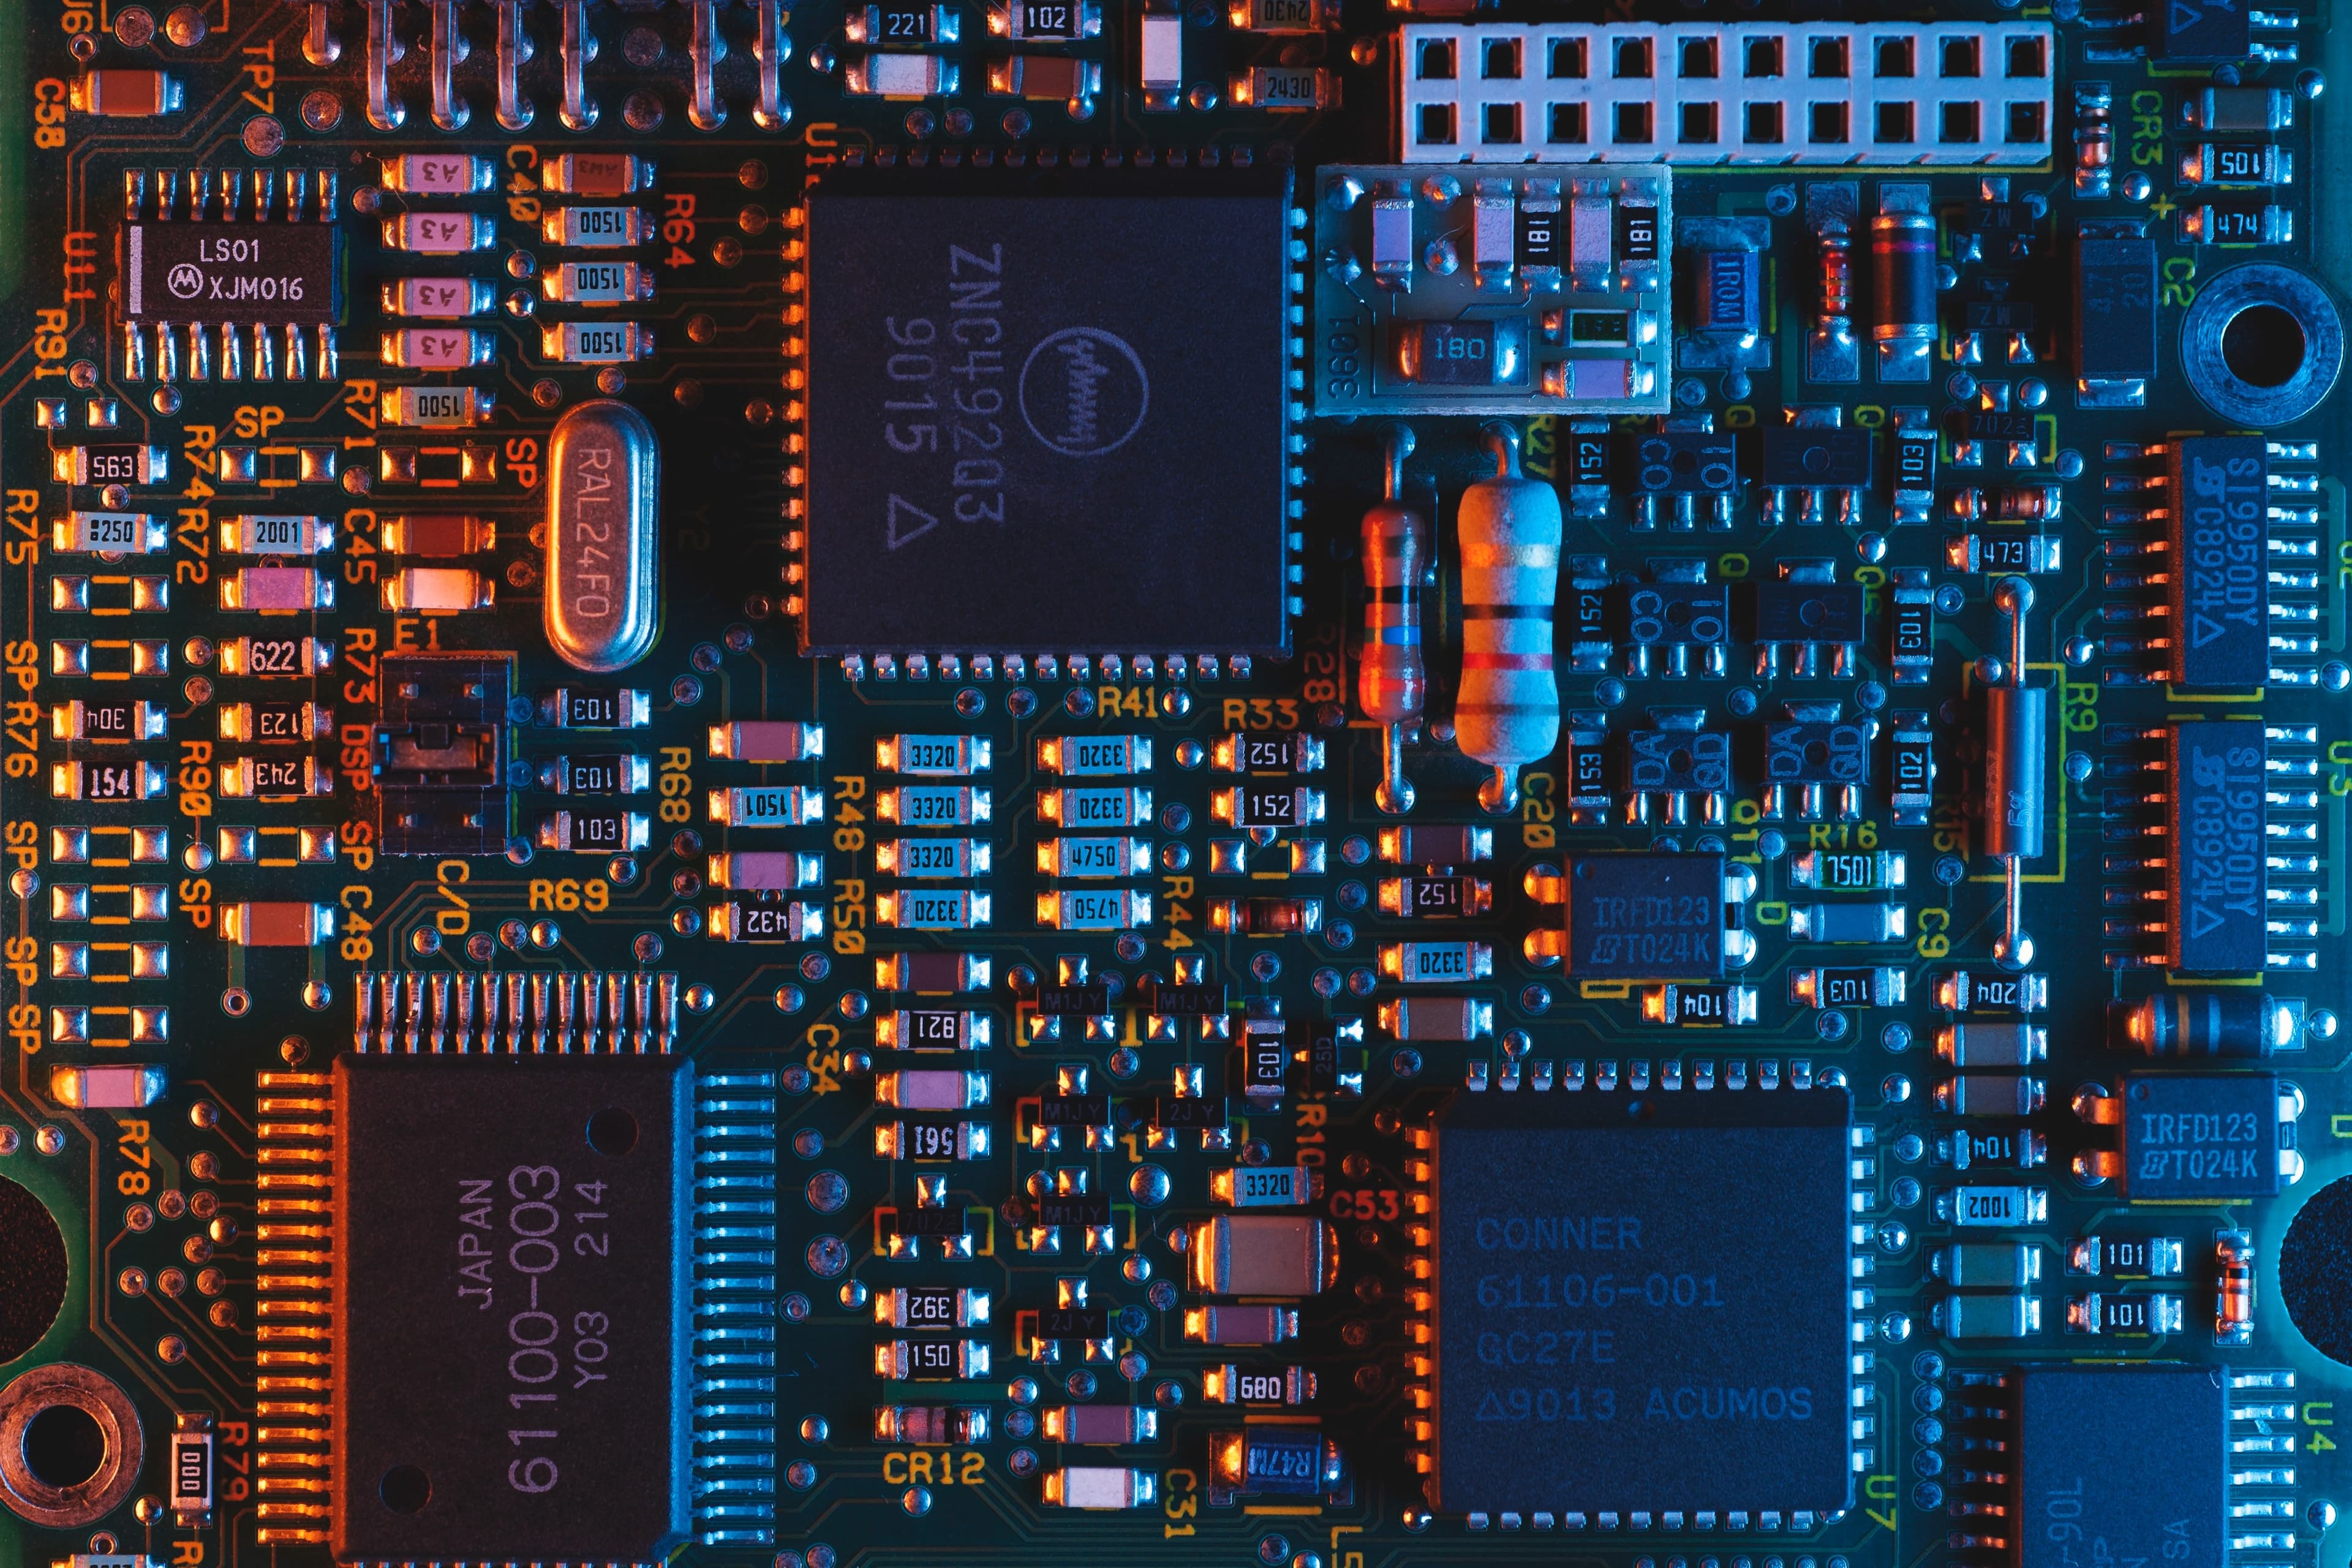
Choose Your Hardware: The first step is to decide what hardware you will use for your HomeLab or Home Server. This will depend on your specific needs and budget. Generally, you should look for a processor with enough power to handle your workload, as well as enough RAM and storage space.
Install the Operating System: Once you have chosen your hardware, you will need to install an operating system. This can be a Linux-based operating system like Ubuntu or CentOS, or a Windows-based operating system like Windows Server.
Configure Your Network: Once you have installed the operating system, you will need to configure your network. This will involve setting up DHCP, DNS, and other networking services.
Install Applications: Once your network is configured, you can start installing the applications you need. This can include web servers, database servers, or other applications.
Test and Optimize: Once you have everything installed and configured, you should test your setup to make sure everything is working properly. You should also look for ways to optimize your setup for better performance.
Conclusion
Creating a HomeLab or Home Server can be a great way to save money, gain valuable experience, and have complete control over your data. With the right setup, you can create a powerful and efficient server that can save you time and money. If you are considering setting up a HomeLab or Home Server, the steps outlined above should help you get started. With the right setup, you can create a powerful and efficient server that can save you time and money.